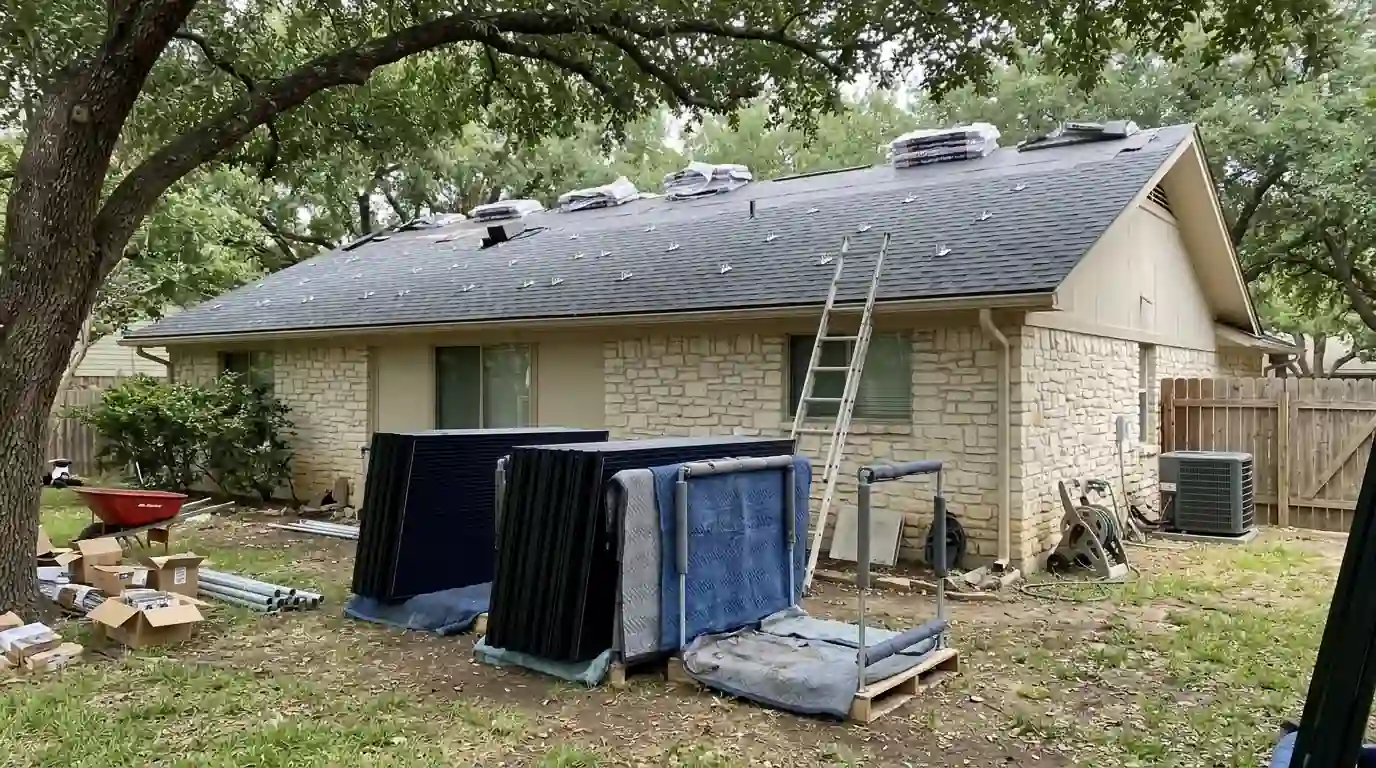
Why the array should come off before a reroof
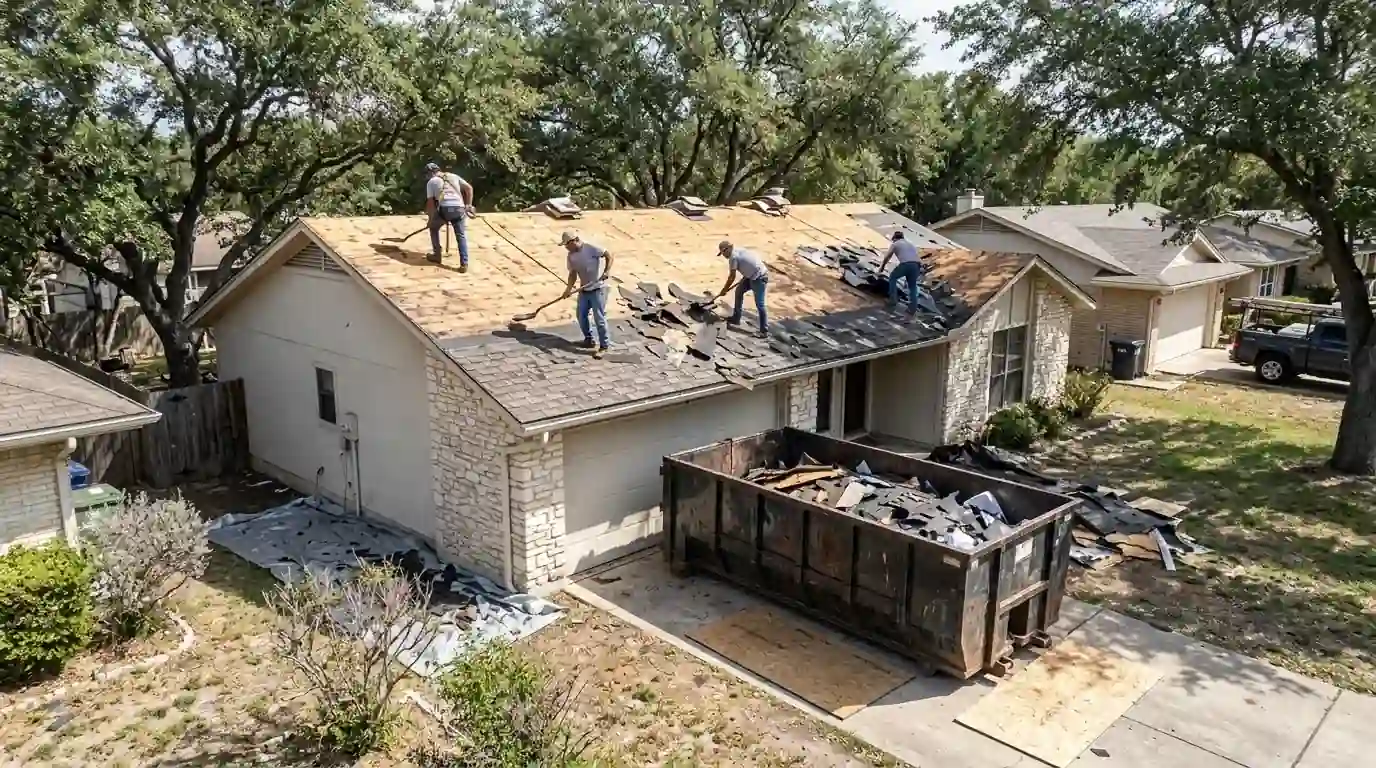
Shingles under solar panels still age, just a little slower than the exposed slopes. When the rest of the roof is due, the courses under the array usually are too, and nobody can reach them with panels in place. Replacing around the array leaves old shingles, old underlayment and old mount flashing under a system that's meant to stay up for decades.
Timing matters. If the roof has about five years or less left, it's usually cheaper to replace it before a solar install than to pay for a detach and reset later. If the array is already up, pairing the reset with a full roof replacement means one removal instead of two. Not sure how much life is left? A roof condition inspection before you sign a solar contract settles it.
What gets coordinated before anyone touches a panel
Solar is an electrical system first. Before we unbolt anything, the system has to be shut down and the wiring safely disconnected, which we schedule with your original installer or a solar electrician. If your installer has gone out of business, which happens with older San Antonio systems, we'll help line up a qualified electrician for both the disconnect and the restart.
We also ask for your system details: panel count, inverter or microinverter type, racking brand and the monitoring app login. Photos of the array from the street help us plan where mounts will land on the new decking. If the panels are leased or under a production agreement, check whether the leasing company insists on handling the reset itself, because some contracts require it.
How we remove and store panels without damage
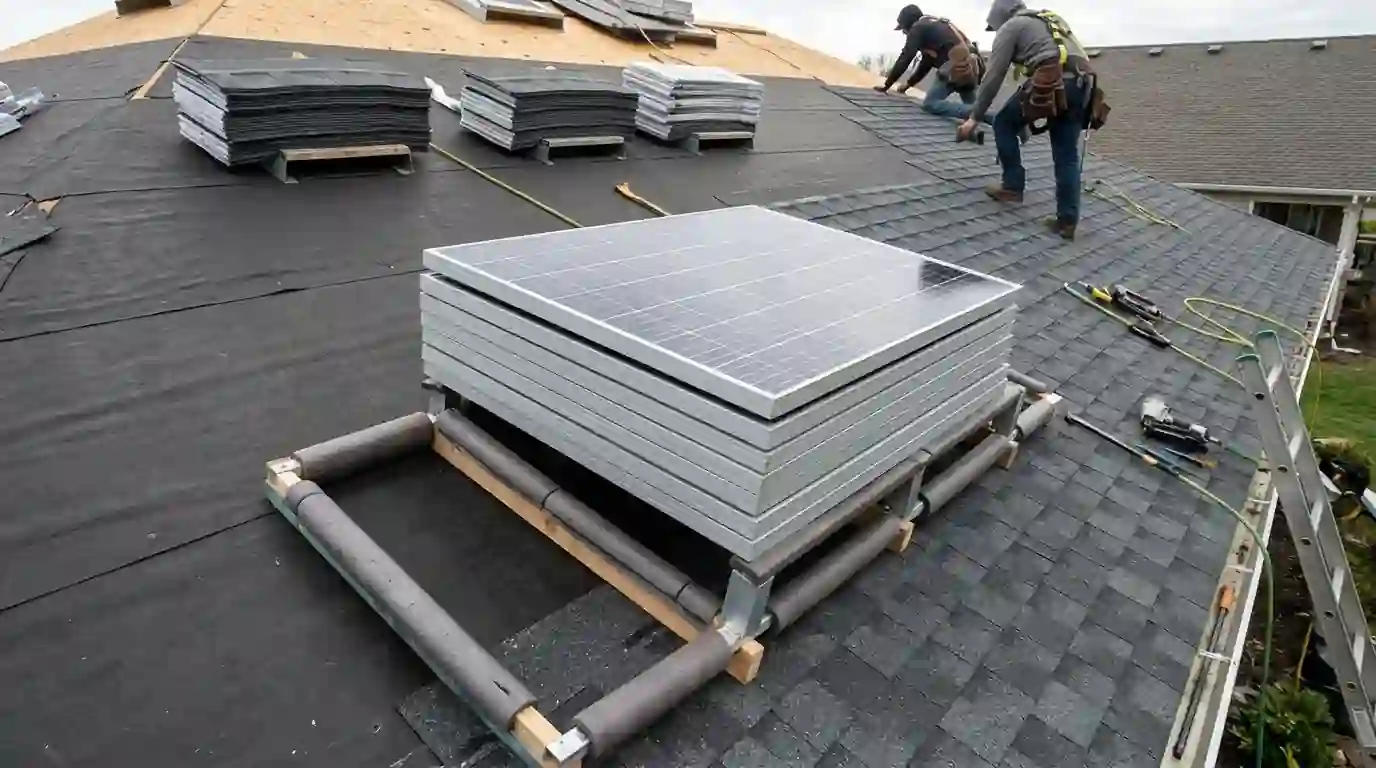
Panels come off in reverse order of installation, each one labeled with its row and position so it returns to the same spot in the circuit. Microinverters or optimizers stay attached to their panel. We stack modules on padded racks with the glass protected, in a shaded spot on your property, because a cracked or overheated panel is an expensive mistake.
Racking rails and clamps are bagged and labeled by row. We look at every piece for corrosion, stripped bolts and worn grounding hardware, and you'll hear about anything that should be replaced before the reset starts. Swapping a damaged part costs far less while the array is down than after it's back up and producing.
Mount flashing is where most solar leaks start
Many older arrays were attached with lag bolts and a dab of sealant, and some bolts missed the rafters entirely. Sealant dries out under South Texas UV, and the bolt hole becomes a slow leak that stains decking long before it shows on a ceiling. On every reset, each attachment goes into a located rafter or added blocking, with a flashed mount built for the roofing material.
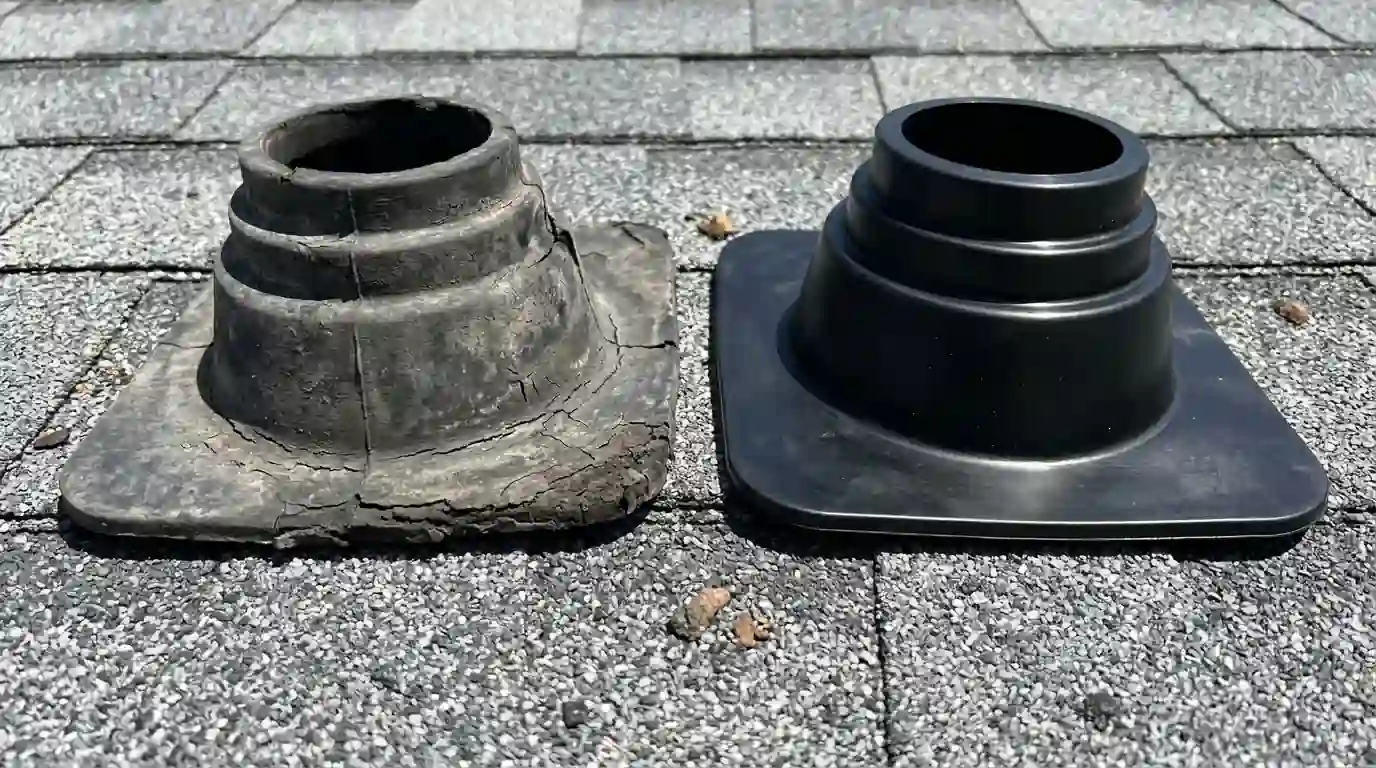
On shingle roofs, that means an aluminum flashing plate slipped under the course above with a sealed standoff. On tile, we use tile hooks or flashed replacement tiles, and on standing seam metal we prefer clamps that grip the seam with no holes at all. It's the same attention we give pipe boots and roof vents, since all of them are penetrations that tend to fail first.
Bringing the system back online on a sound roof
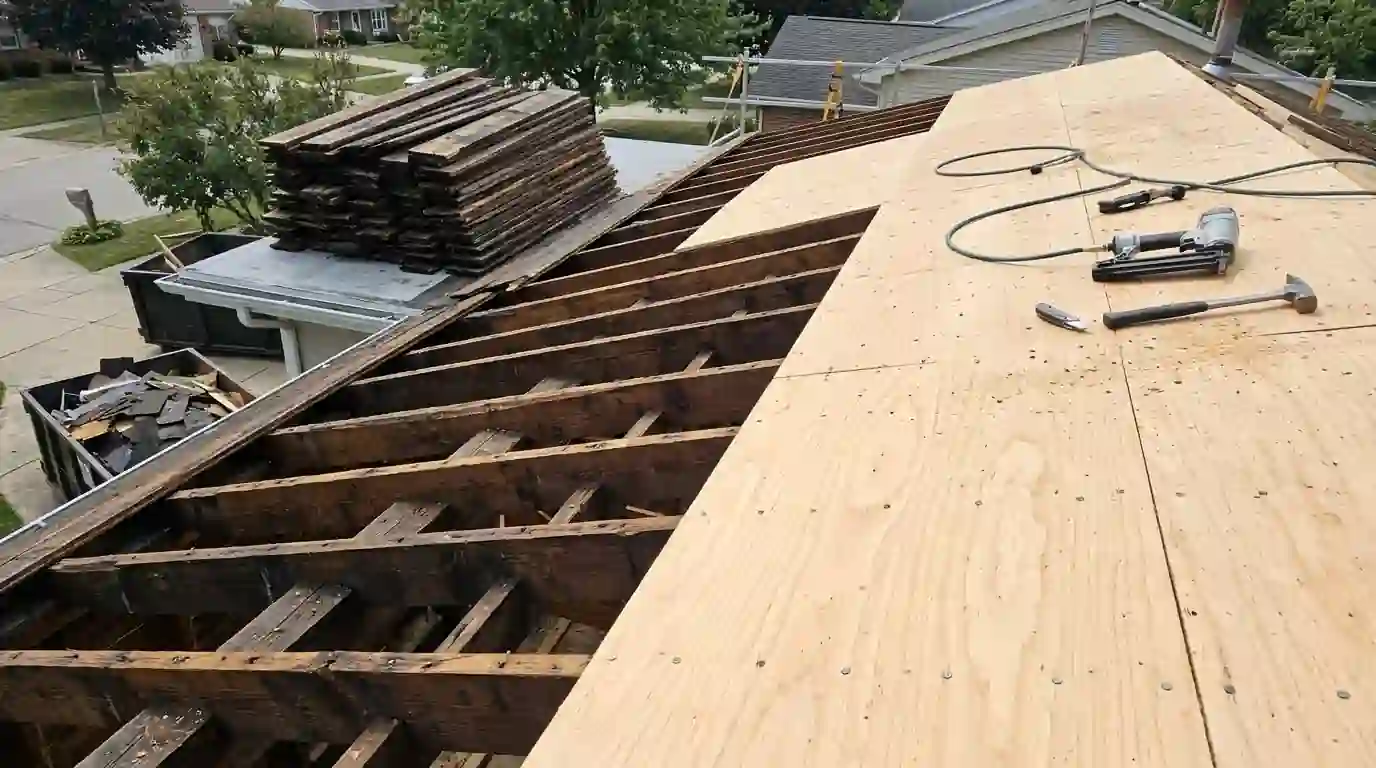
With the new roofing down, we snap layout lines, set mounts, reinstall and level the rails, then return each panel to its labeled position. Wiring gets tidied so cables don't rest on the shingles, where heat and rubbing wear the insulation. Critter guard mesh around the array edge is worth adding now, because squirrels and birds nest under panels all over San Antonio.
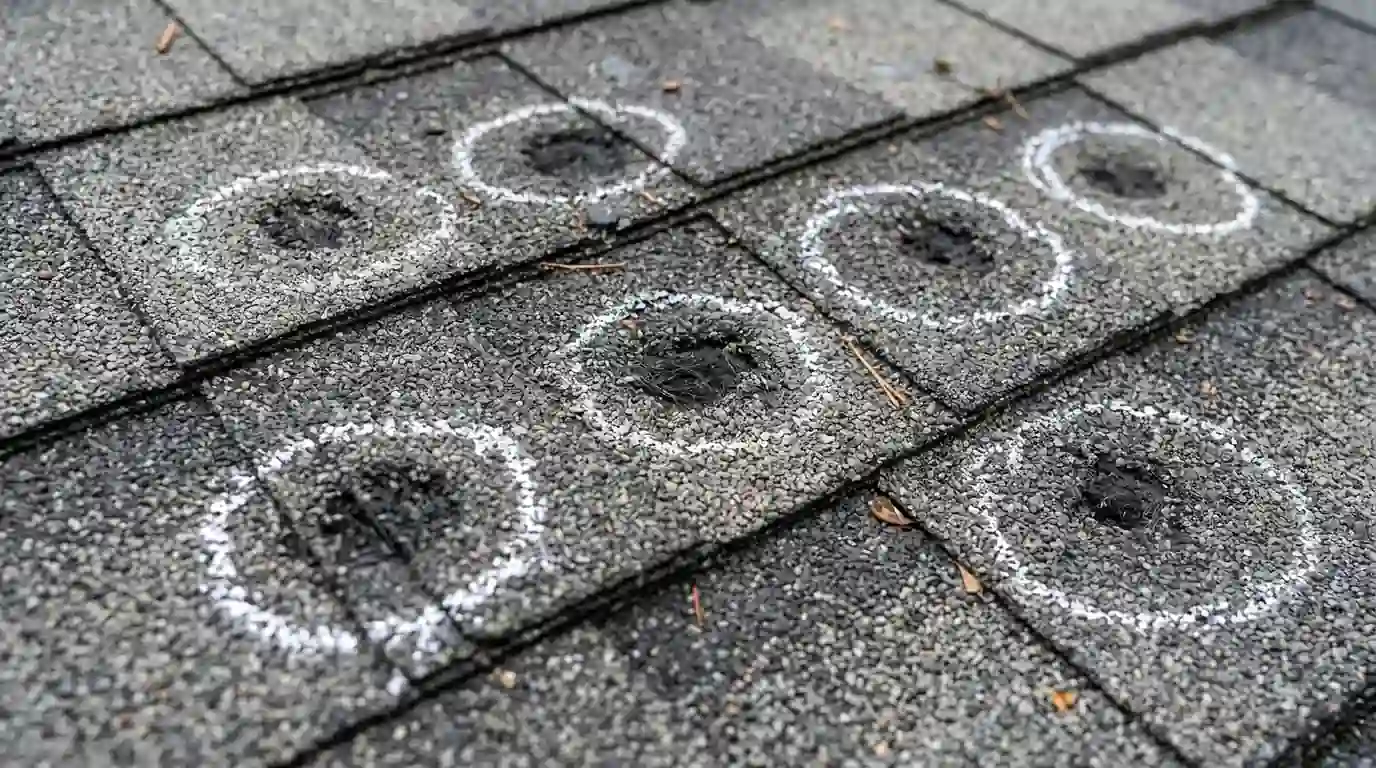
The electrician or installer then reconnects, tests and restarts the system, and you should confirm production in your monitoring app over the next few sunny days. We photograph each mount before a panel covers it, so you have a record of the flashing work. If a storm cracked panels or bruised the roof, our hail repair page explains how both get documented for a claim.